Here is a short time lapse video of the work dad and I have done so far on the fuel tanks. Most of the work has been on the left tank but we prepared the ribs for both left and right. 3 Minutes…enjoy…
Author Archives: KC
Fuel Tanks 1
First of all, Vans changed the numbering of the sections so I’ll just stop using section numbers in the titles to avoid confusion.
We have started on the tanks. I have been putting it off for a while because I was intimidated by the pro-seal. After reading quite a bit online from builders logs and forums on =VAF=, I decided to go with the method described by Rick Galati in this thread.
Speaking of other builders sites, I want to point anyone to Jim Novak’s RV-8 build log. Dad and I visited Jim’s shop yesterday and I spent most of yesterday evening catching up with his build log. I’ve gotten behind on several things since G was born and Jim’s log is one of them but he does a very good and thorough job of documenting his work. I read his section on tanks twice last night and this morning before we started sealing the ribs. Rather than go through the details of the process here, read Rick’s thread above and start here on Jim’s log and read from there.
Freshly dimpled and prepared skin ready for ribs, sealant, and rivets…
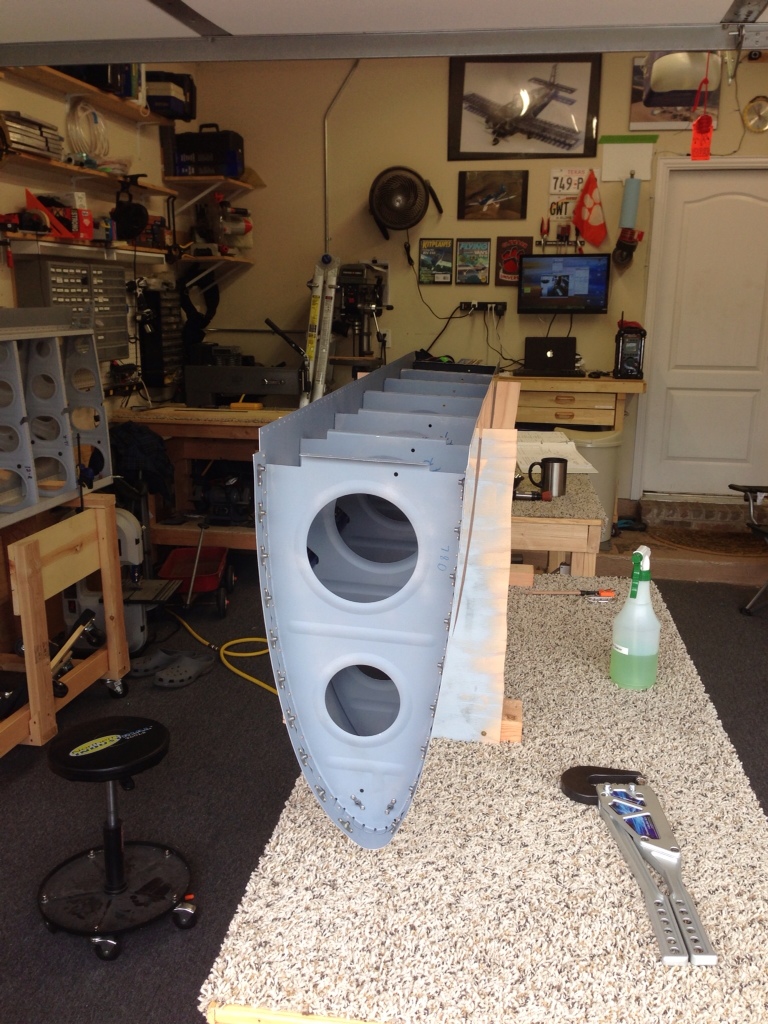
First sealing step is to proseal the fuel line fittings to the inboard rib. We applied a healthy (if not pretty) layer of pro seal to the mating surfaces then clecoed every hole. We’ll leave this set up over night and rivet it the next morning.
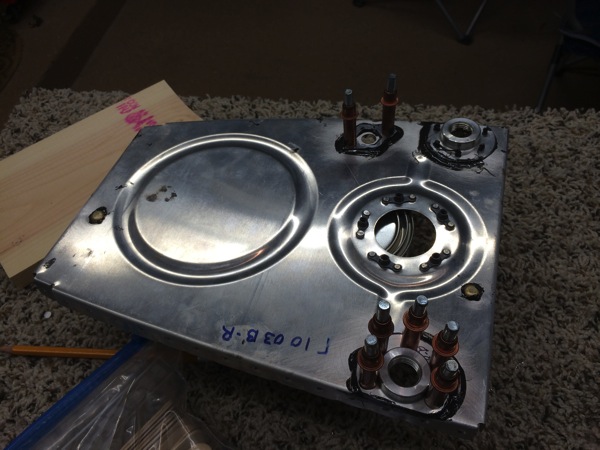
and here is the completely riveted piece.

Next step is to seal then rivet the tank stiffeners onto the lower portion of the skin. Since I neglected to take any pictures of this you’ll have to use your imagination but we layer a bead of sealant then 100% clecoed the stiffeners. They set up over night and we riveted them this morning.
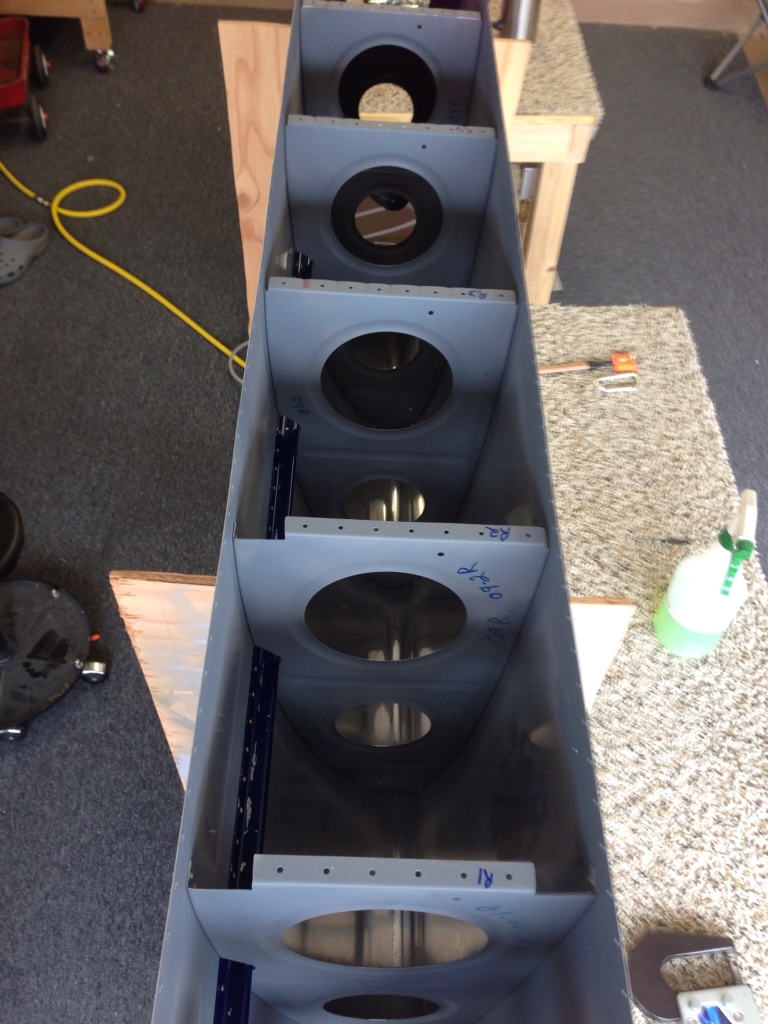
Next we installed the inboard ribs in the tank skin. We did this by applying pro seal to the raying surface (mating surface) of the rib then 100% clecoed them into place starting at the nose and working our way back.

After that, we used the pro seal that squeezed out plus some additional pro seal to make a fillet on the non flanged side of the rib. We’ll do more on the flange side after riveting but it seemed like it would just make a mess to do it now. You can see the fillet here.
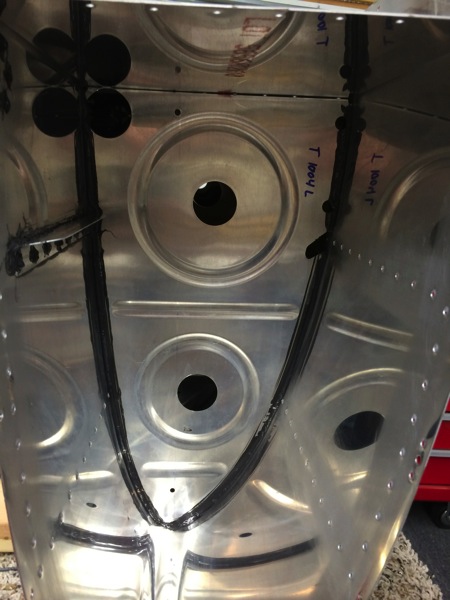
and here
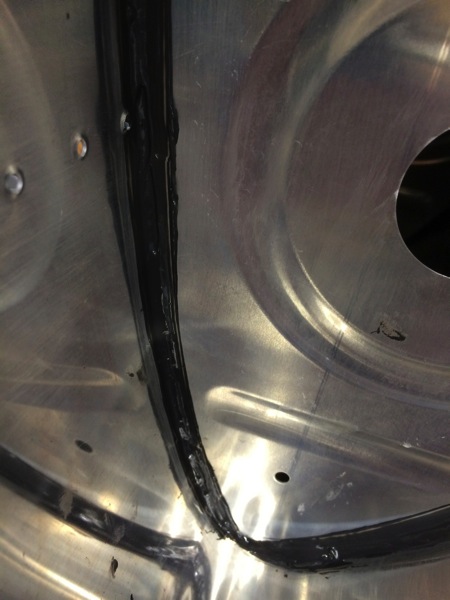
This is what the flange side of the ribs look like. You can see that pro seal has squeezed out from the raying surface but we’ll add another layer after the rivets go in. Better safe than sorry….

We’re going to work on the right side tomorrow and probably rivet the left side Thursday.
Section 20 – Ailerons
I’ve been working a little bit as I’m able with a now 3 month old but I haven’t been doing a good job of taking pictures or reporting here. I’ve now got the the left and right ailerons completed. I haven’t been doing nearly a good enough job of updating this site so I’ll be throwing out a a few updates here over this week to try and catch up.
The ailerons are very similar to the flaps to construct with the exception of the fact that the ailerons have stiffeners instead of ribs for all support inboard of the two outboard ribs. The ailerons don’t have to support the same loads that the flaps do so they don’t require the ribs.
About the only substantial thing I have to say about constructing the ailerons is that I think I discovered a slightly easier way to rivet the forward edge of the skin to the spar. I have trouble working my hands down into that cavity and holding a bucking bar.
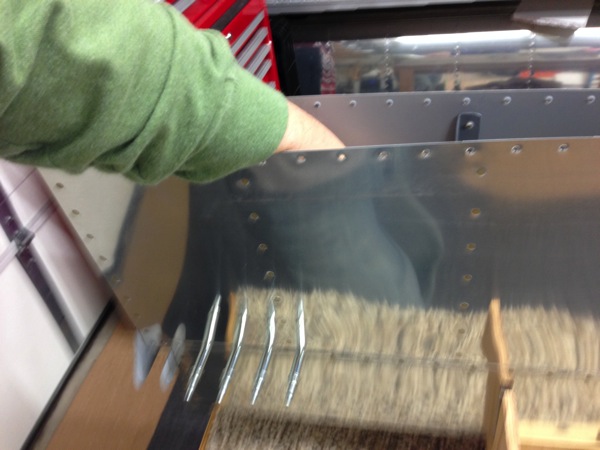
I discovered that once I got a few rivets set, I could lay the tungsten bar on its side and simply use my finger tips to hold it against the rivet. The bucking bar rests against the shop heads of the completed rivets.
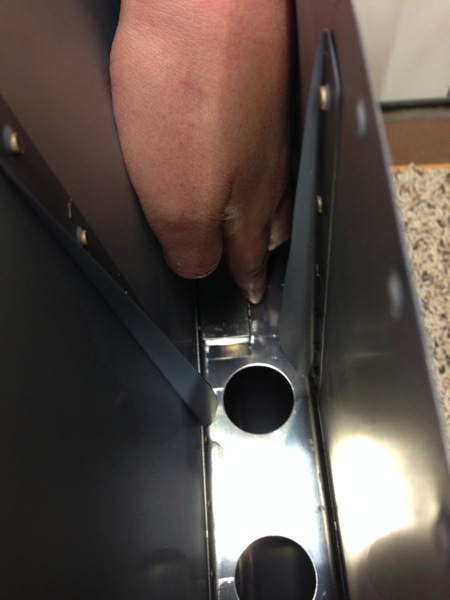
After completing each rivet you can work your way down to the next.
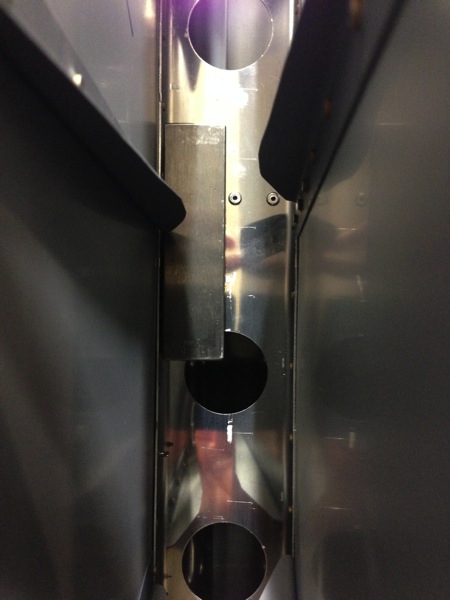
So both ailerons are now complete and stored on a shelf. Tanks are next. Dad is in town and we started them this week.
Section 19 – Flaps
Back at it! Haven’t had a lot of time to work on the plane the past several weeks but now that Grayson is 4 weeks old, I’m able to sneak out to the garage for an hour or two here and there. Dad came to town to meet Grayson so we were able to spend a few hours working as well.
I have now completed both left and right flaps. Don’t have a lot of pictures of the right one since it’s basically identical to the left. Once again, the hardest part was driving the rivets on the bottom skin to the spar.
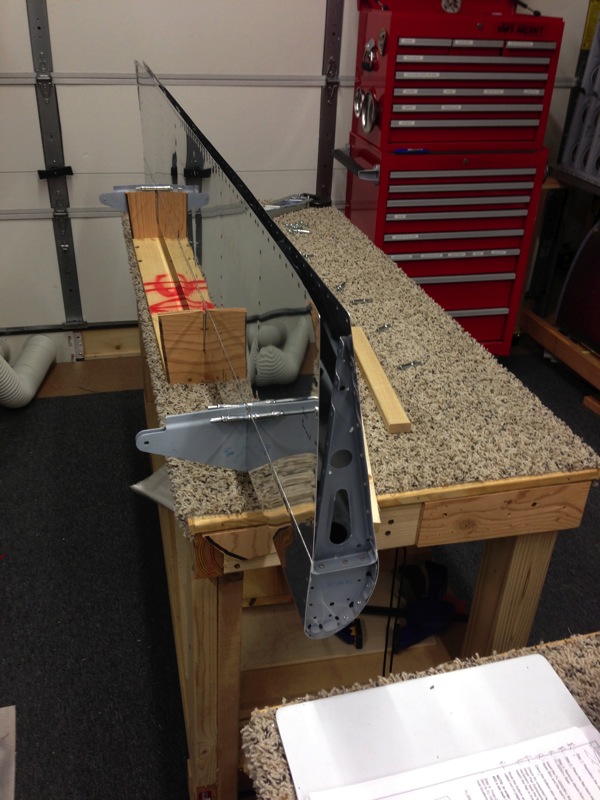
It requires you to reach way down into the flap between the two skins to hold the bucking bar. Tungsten is a must. I used a couple of 1 inch thick pieces of wood to hold the skins apart a little. I worked one bay at a time with pieces of wood on each side.
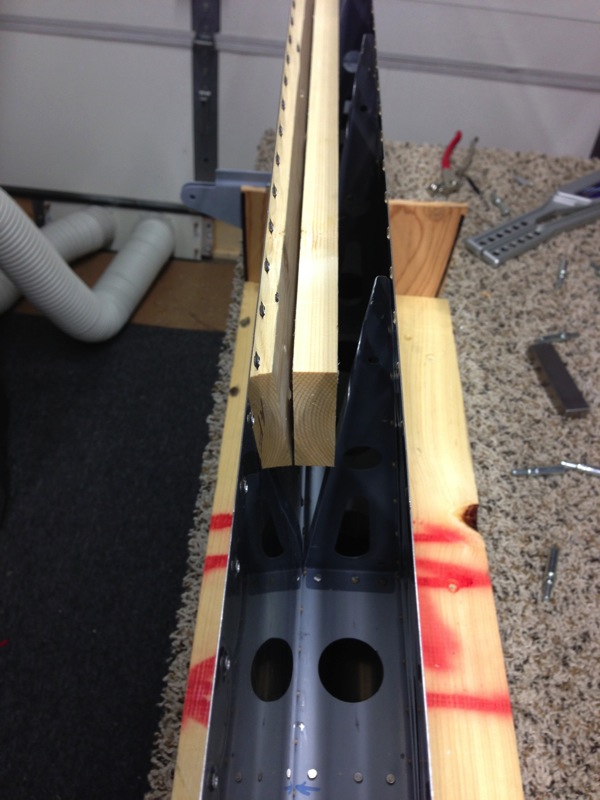
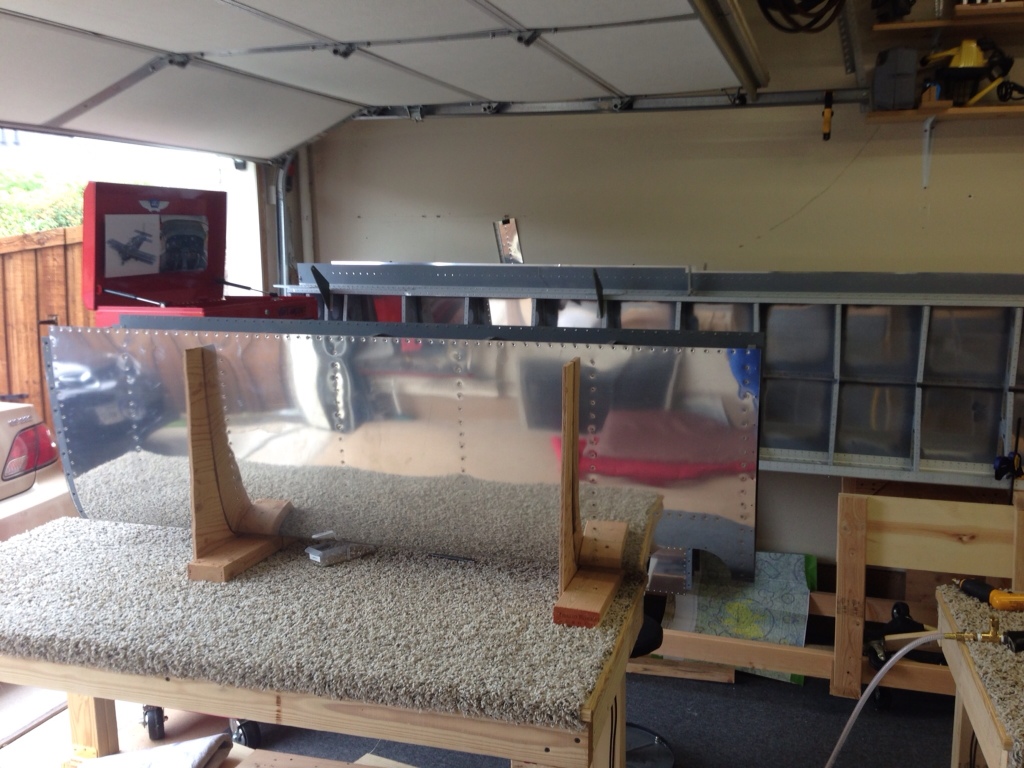
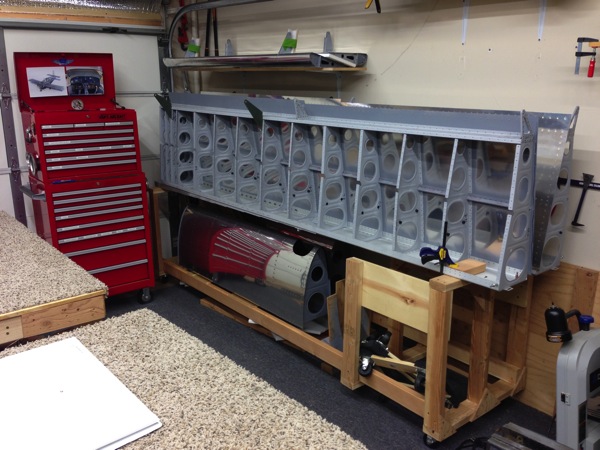
So here’s a picture of all of the progress to date. Wings with top skins on, outboard leading edges below, and flaps on the shelf on top.
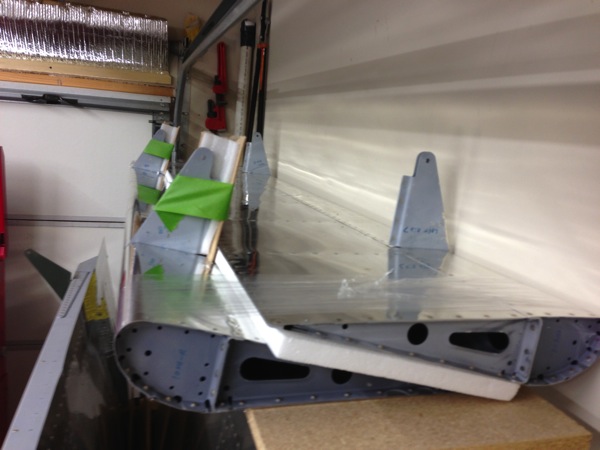
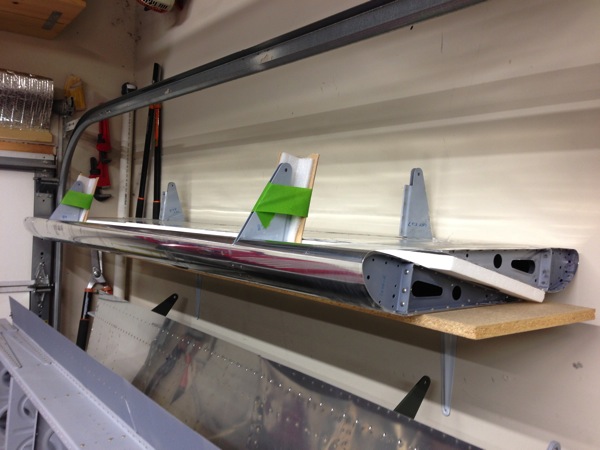
Here’s the stored flaps. I put styrofoam between them and wrapped them with saran wrap before putting them on a shelf.
A slight delay in the build
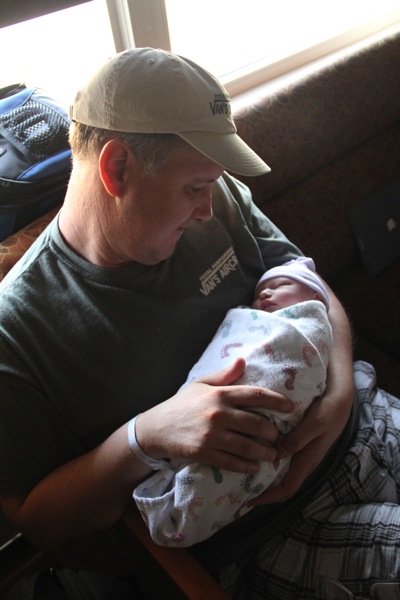
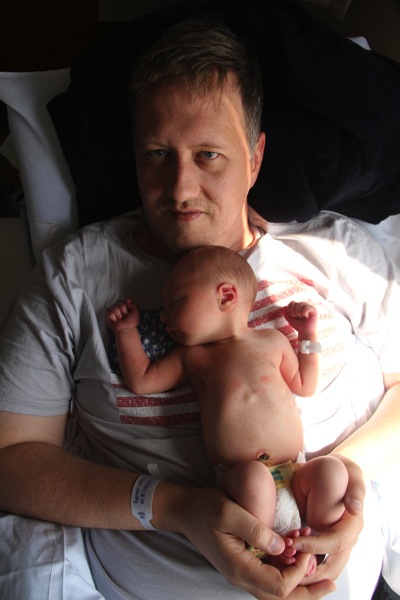
We’ve encountered a slight delay in the building process. Introducing my eventual co-pilot and future bucking bar holder Grayson. You can see I properly represented Van’s aircraft at the hospital. Hey, I knew there would be pictures taken so I had to dress appropriately.
I doubt we’ll make much progress over the next few weeks but I’m going to try and plug along as I can. Dad is coming down in a few weeks and we’ll get some rivets bucked.
Section 19 – Flaps
I skipped forward to Section 19 to work on the flaps. After doing the leading edges, I didn’t quite feel up to dealing with pro seal and doing the fuel tanks. I’ll probably do the flaps then the ailerons before going back to do the fuel tanks. I’d kind of like for it to be a little cooler in the workshop before I deal with the pro-seal.
The flaps are fun because they’re like a little airfoils and look like airplane parts. So far, I’ve completed the left flap and just started on the right.
Here’s the nose ribs, some with doublers clecoed on
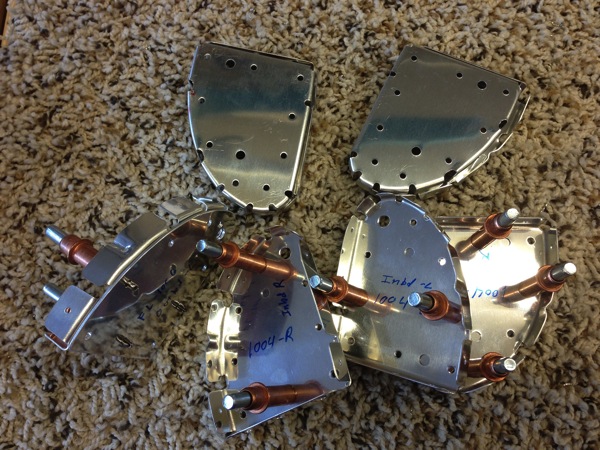
Here’s the main ribs in process of being stripped of blue plastic, deburred and final drilled:

Then I forgot to take pictures for a while for some reason…so fast forward a bit to here. Left flap in process of getting the skin riveted on.
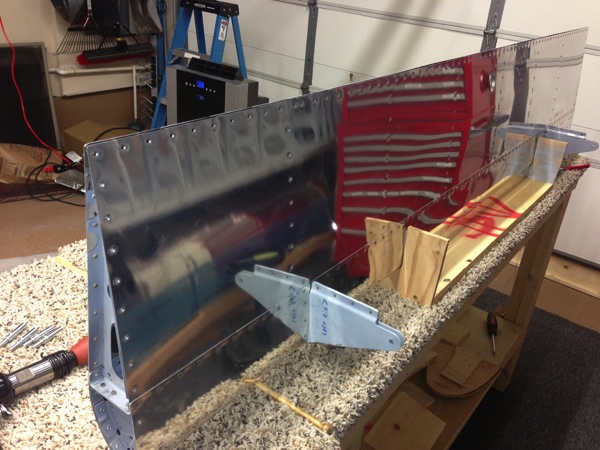
riveting the forward row of rivets where the bottom skin attaches to the spar was an experience. It required me to stick my hand down into the flap between the skins and hold a bucking bar (thank goodness for the tungsten bar). It had to be done 100% by feel…probably not something I’d try unless you’ve driven a few thousand rivets. I found it helpful to wedge a 1×2 between the skin and ribs to keep the bottom skin separated from the top skin. Here’s a short video of me finishing up the flap.
The next step required a flat surface to make a straight trailing edge. Since my workbenches have carpet on them, they wouldn’t really cut it. I decided to buy a cheap box level from Harbor Freight and screw it to a piece of shelving board to ensure it was straight. The result looked like this:
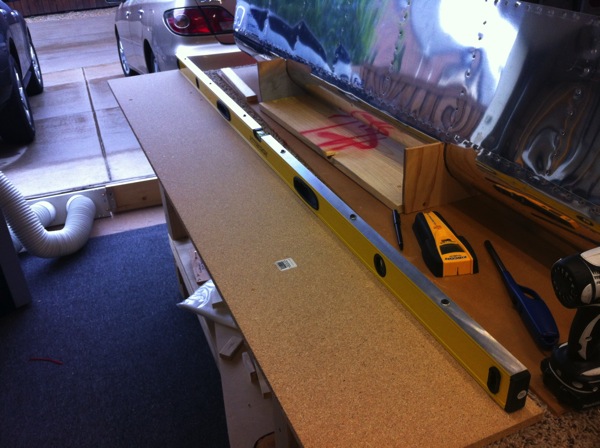

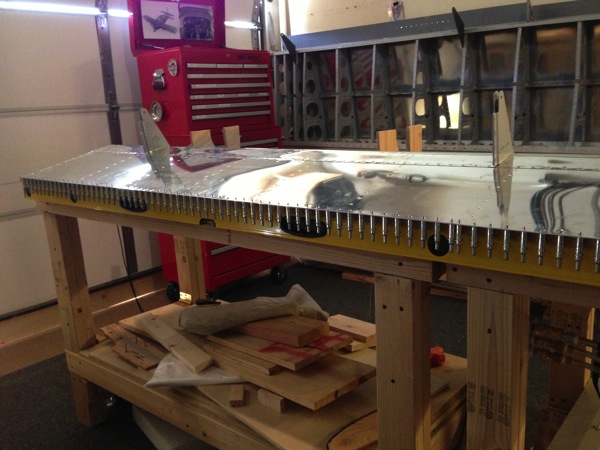
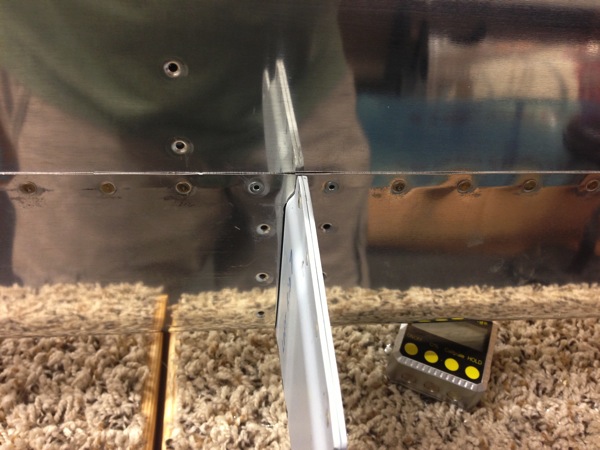
The surface worked pretty good and I’m pleased with how the trailing edge worked out.
So finally, after finishing the trailing edge and adding a few dozen blind rivets, the flap is complete. Here is not only a finished airplane part but a successfully stored airplane part.
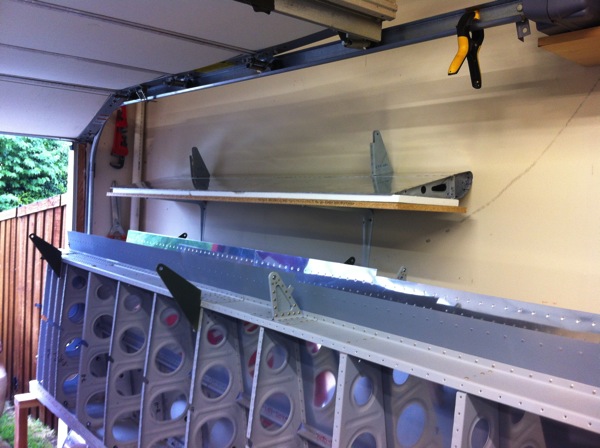
Also, can I say that I came to realize how much I prefer driven rivets to blind rivets. This is the first time in the build that I’ve used the rivet puller and I definitely prefer squeezing or driving solid rivets. Not only do they look better, hold better and weigh less, but I can install them substantially faster. Driving rivets intimidated me at the beginning of the build but it shouldn’t have. It’s like any other learned skill, it just takes a bit of practice.
A/C in the Workshop!!!
I ordered a portable standalone air conditioner from amazon. The heat of a Texas summer combined with my west facing garage door meant that something had to be done to allow me to work for the next few months. I built a footer board that the garage door can rest on and allows the inlet and outlet air for the compressor while keeping at lest some of the hot air outside. I also fabricated a seal flap for the top of the garage door out of the foil bubble wrap stuff from Lowes.
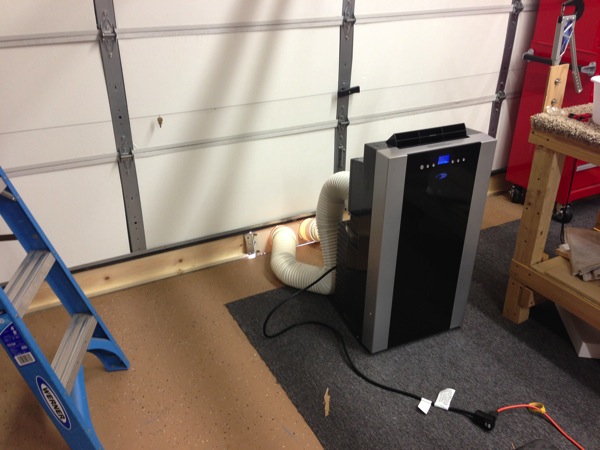
So far, I’m generally pleased. It kept the garage at around 85 degrees today between 3:00 and 6:00 (although this wasn’t the hottest day) then quickly brought it down to below 80 once the sun went down. It also lowers the humidity a great deal. I never expected it to be 70 or anything like that but I think it makes it workable in the garage during the afternoons. I will update what I think of it after a few 100+ degree days.
Section 15 – Outboard Leading Edges
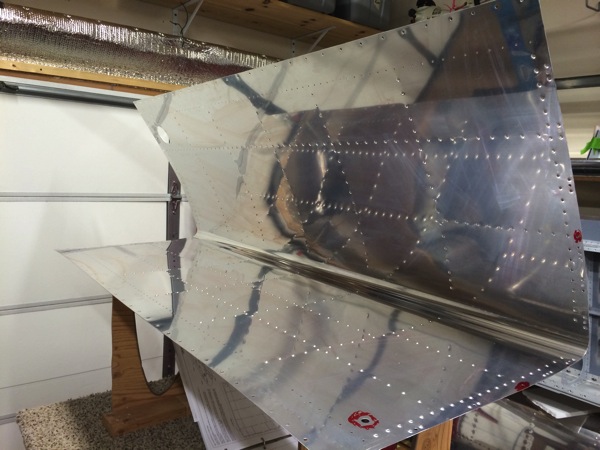
Well, I've got the leading edges assembled and ready to mount to the wing. I think I'll wait until I have an extra set of hands for that so I'll set them aside and finish Section 15 later. All that's left to do is to mount the leading edge to the wing and assemble the landing light cover assembly. I believe I'll move on to the Flaps next. That'll be fun because its another piece that looks like an airplane part. Here's some pictures of the leading edges.
Section 15 – Outboard Leading Edge
Spent the past couple of weekends prepping the leading edge skin, ribs and various components for assembly. Yesterday I assembled the left leading edge and began riveting. This is the inboard most rib called the splice rib. It sits inside the narrow strip of aluminum with all of the nutplates called the splice stip. This is where the outboard leading edge will attach to the fuel tank.
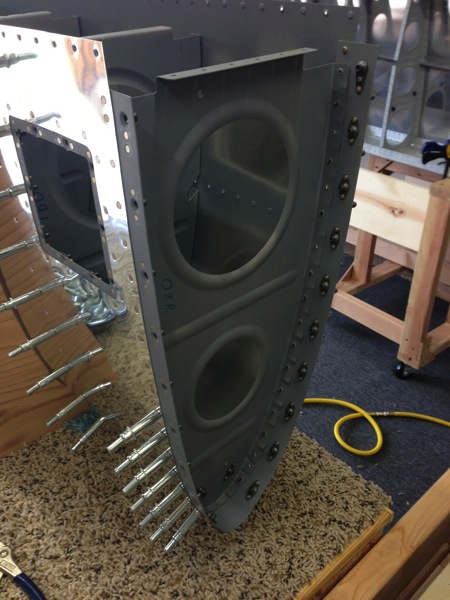
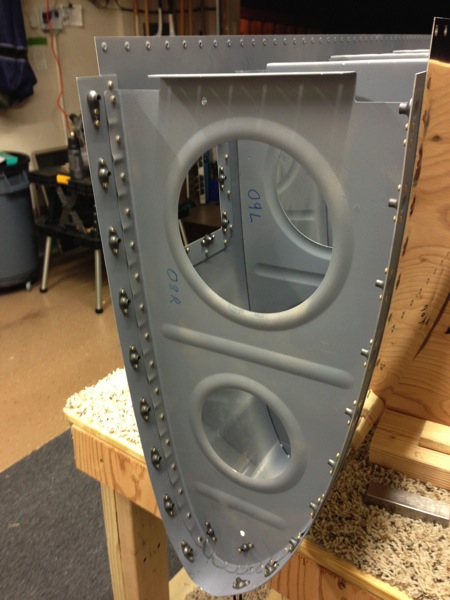
the ribs clecoed into the leading edge skin.

THe access plate doubler on the bottom of the wing. An access panel will screw on here.

Two inboard most ribs riveted in place. Those rivets down at the nose are hard to reach and you really have to take your time.

Section 15 – Outboard Leading Edge
It’s been a bit of a challenging couple weeks at the airplane factory. Ashley and I got a little carried away while dimpling and accidentally put an extra hole in the left wing leading edge.
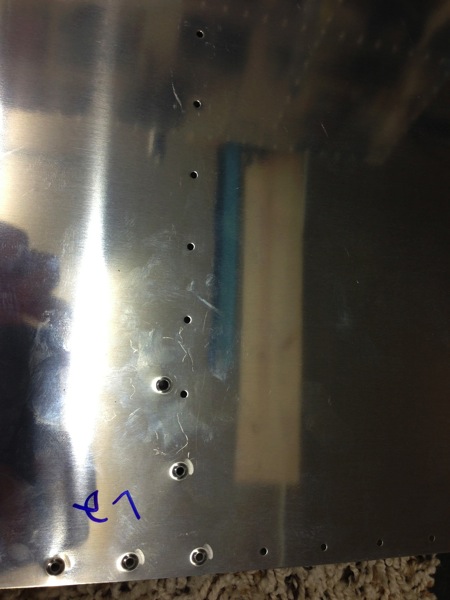
I was ready to replace the skin (at a cost of around $120) but I consulted with Van’s and posted pictures on the online forum. Van’s replied that I should be able to clean the hole up and fabricate a patch. Here is the hole flattened and reamed out with a #18 reamer to get it clean, round and crack free.
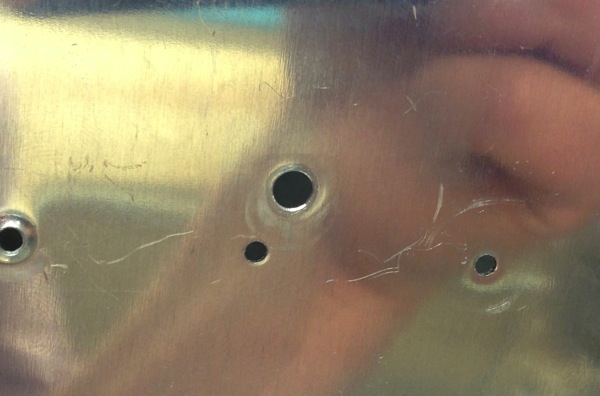
I also drilled and dimpled new holes on either side of the nearby skin flange hole. This way I can abandon that hole and don’t have to dimple so close to the “extra” hole just in case there’s any residual stress. This is probably overkill but it won’t hurt anything. Next, I epoxied a small patch that will sit next to the rib and together they will cover the hole, allowing me to fill the hole from the outside with epoxy or JB-Weld.


