I ordered a portable standalone air conditioner from amazon. The heat of a Texas summer combined with my west facing garage door meant that something had to be done to allow me to work for the next few months. I built a footer board that the garage door can rest on and allows the inlet and outlet air for the compressor while keeping at lest some of the hot air outside. I also fabricated a seal flap for the top of the garage door out of the foil bubble wrap stuff from Lowes.
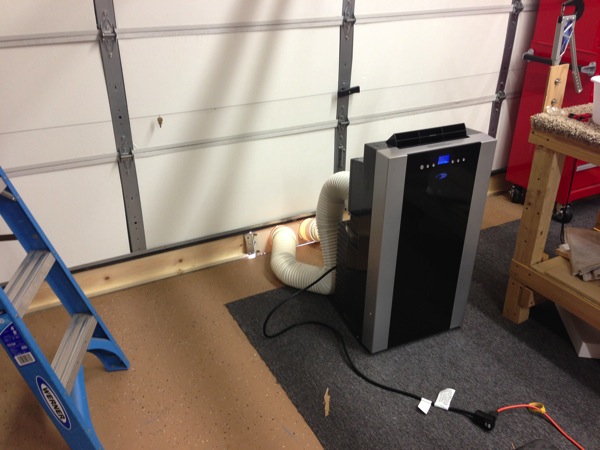
So far, I’m generally pleased. It kept the garage at around 85 degrees today between 3:00 and 6:00 (although this wasn’t the hottest day) then quickly brought it down to below 80 once the sun went down. It also lowers the humidity a great deal. I never expected it to be 70 or anything like that but I think it makes it workable in the garage during the afternoons. I will update what I think of it after a few 100+ degree days.
Tag Archives: Van’s RV-14
Section 15 – Outboard Leading Edge
Spent the past couple of weekends prepping the leading edge skin, ribs and various components for assembly. Yesterday I assembled the left leading edge and began riveting. This is the inboard most rib called the splice rib. It sits inside the narrow strip of aluminum with all of the nutplates called the splice stip. This is where the outboard leading edge will attach to the fuel tank.
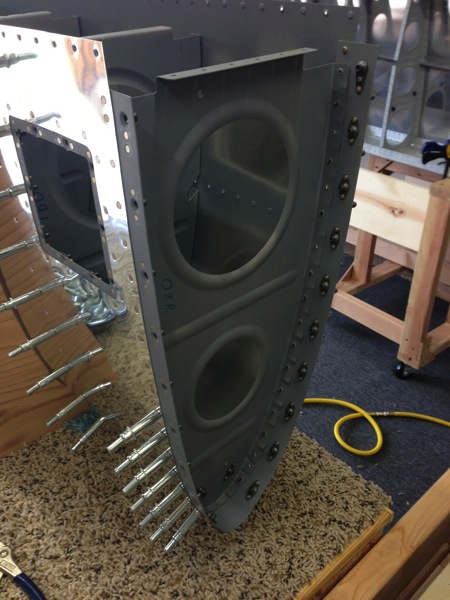
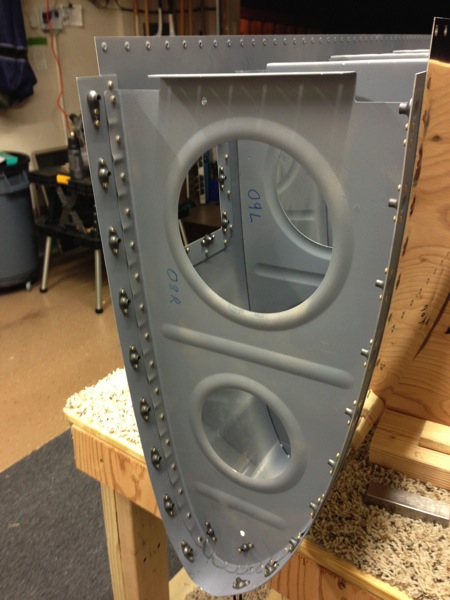
the ribs clecoed into the leading edge skin.

THe access plate doubler on the bottom of the wing. An access panel will screw on here.

Two inboard most ribs riveted in place. Those rivets down at the nose are hard to reach and you really have to take your time.

Section 15 – Outboard Leading Edge
It’s been a bit of a challenging couple weeks at the airplane factory. Ashley and I got a little carried away while dimpling and accidentally put an extra hole in the left wing leading edge.
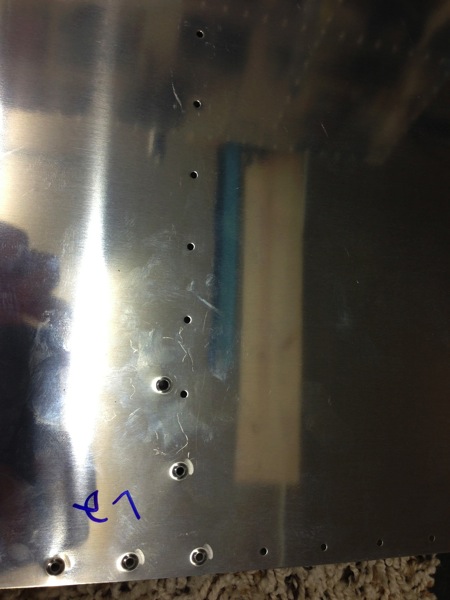
I was ready to replace the skin (at a cost of around $120) but I consulted with Van’s and posted pictures on the online forum. Van’s replied that I should be able to clean the hole up and fabricate a patch. Here is the hole flattened and reamed out with a #18 reamer to get it clean, round and crack free.
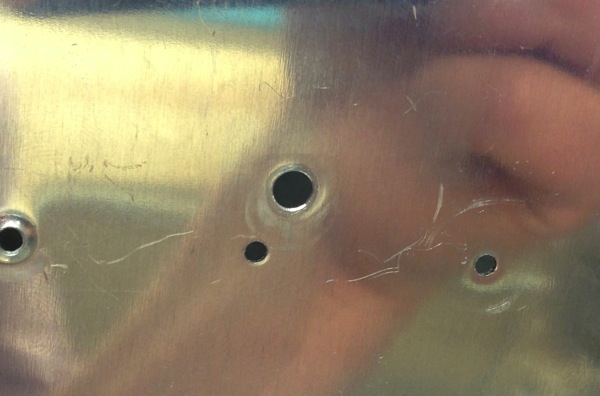
I also drilled and dimpled new holes on either side of the nearby skin flange hole. This way I can abandon that hole and don’t have to dimple so close to the “extra” hole just in case there’s any residual stress. This is probably overkill but it won’t hurt anything. Next, I epoxied a small patch that will sit next to the rib and together they will cover the hole, allowing me to fill the hole from the outside with epoxy or JB-Weld.

Section 15 – Outboard Leading Edge
Worked some Friday and yesterday on the right outboard leading edge. Had to install the ribs in the LE skin and cleco so I could locate and drill the J Stiffiner channel. This completed, I disassembled everything and dimpled and primed.
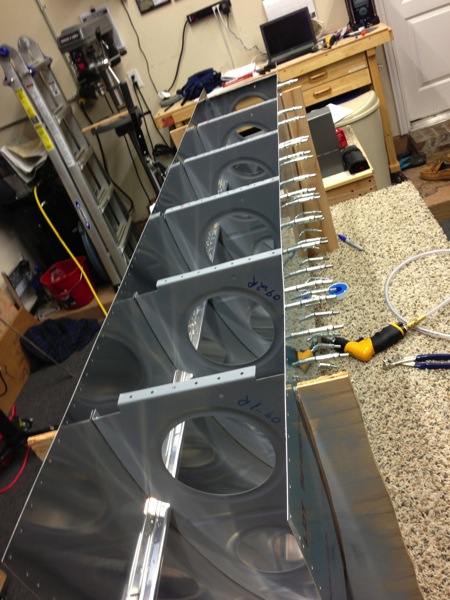
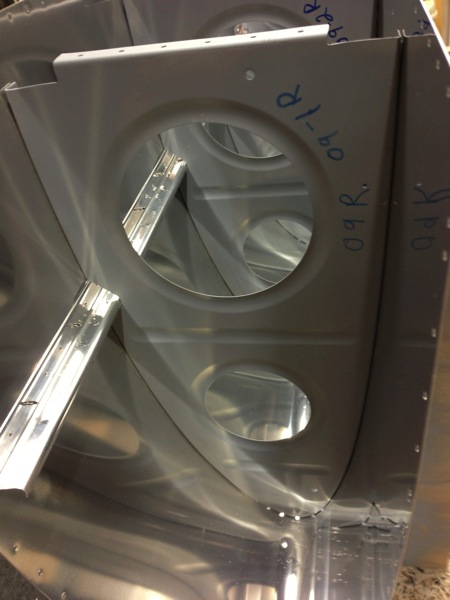
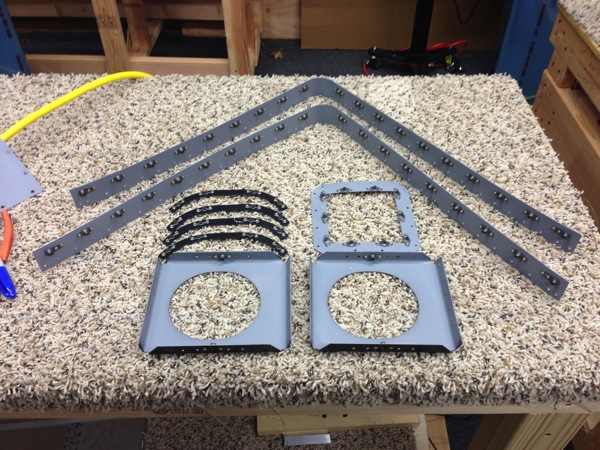
Nutplates Nutplates Nutplates today. The long pieces are the joiner strips that join the outboard leading edge to the inboard leading edge (fuel tank). The other piece are access panels and landing light brackets. The small pieces are painted black because they’ll be visible when looking into the landing light cavity.
Section 14 – Top Wing Skins
After completing the right wing skin, we moved it over to the wing cradle and got to work on the left wing.
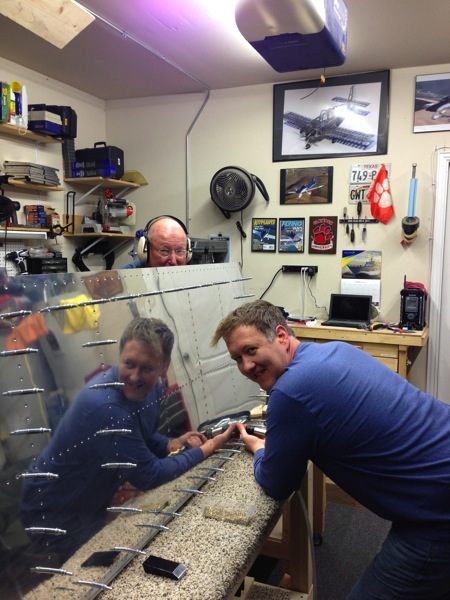
The left wing went much faster than the right did because we had a pretty good rhythm down.
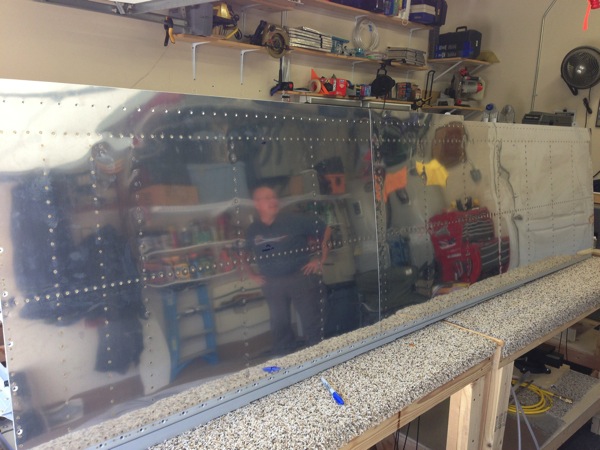

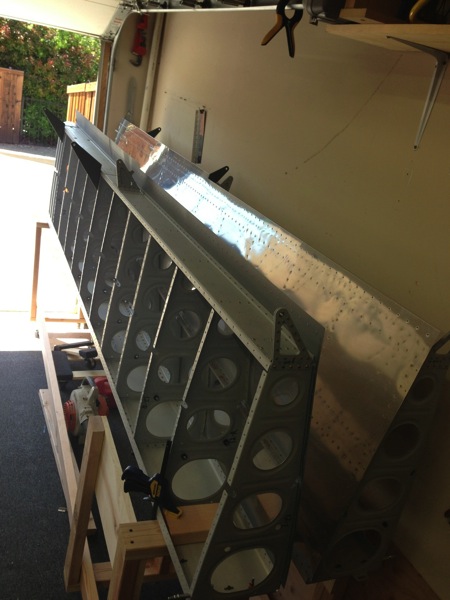
Here’s a time lapse of our weekend’s worth of work
Section 14 – Top Skin
Dad is in town and we’ve had a good couple of days working on the right wing. First we finished riveting the inboard top skin to the ribs and spar. The we dimpled the outboard top skin and riveted it as well. We estimate that we drove about 600 rivets over the past two days.

Below you can see the J-Channel box stiffeners inserted in the ribs and riveted to the wing skin.
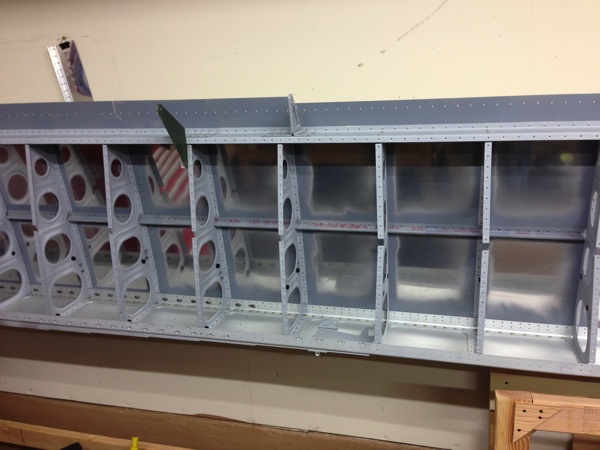
Here is the outboard aileron bracket riveted to the outboard rib and aft spar.

And here’s a time lapse video of our work today:
Section 15 – Outboard Leading Edge
Now that I’ve got some workbench space again I started working on the leading edge. First step was to cut a couple of cradle V-blocks out of plywood to hold the leading edge skins while riveting.
Next it’s time to work on ribs again. So back to the same routine as earlier: drill holes to final size, debur both sides of the hole, debur the edges as well as the lightening holes, straighten the flanges so they’re 90 degrees to the rib web, then flute the rib flanges so the rib is straight. That took about 8 hours over Friday, and Saturday.


I snuck out for a few hours on Easter Sunday and worked on polishing the nose portion of the ribs on the scothchbrite wheel so that the bent tabs are more rounded than faceted. Then I started dimpling. Here’s Ashley doing a bit of dimpling on the DRDT-2. More dimpling later.

Re-arranging the workshop
I think I’ve done all I can do riveting the wing skins on until Dad comes down in a few weeks to help with riveting. I thought it would be a good time to build a wing cradle and rearrange the garage a little bit. So I stole Tim Olson’s wing cradle design and spent the weekend building one.

Next I rearranged the garage a little to put the cradle up against the wall and give a bit more workable workspace. I’ll probably need to put the workbenches back together again when Dad comes down to rivet top skins but I’ll deal with that then.

