Fuel Tanks 4

Last day that dad’s in town so I’d better get a full day’s work out of him…

We started by riveting the stiffeners, drain flange, and fuel filler flange on the right wing. Then we put the left side back in the cradle and set up to rivet the ribs. This is the time that fuel tank construction gets serious. For each rivet, the process goes something like:
1. Remove Cleco
2. Clean out hole of excess sealant from the overnight set up
3. Apply small dab of sealant to the dimple
4. Insert rivet. It will sit in this bed of fresh sealant.
5. One person holds the bucking bar, the other drives the rivet.
6. Repeat about 30 times for each of the 5 inboard ribs.
7. Use a small brush and apply a dab of sealant to the newly formed shop head of each rivet.

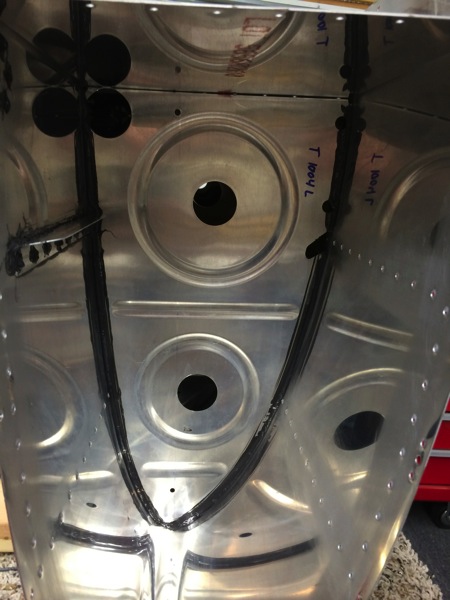
Short version of the story is that we worked all day and finished the inboard ribs.

One of the inboard ribs
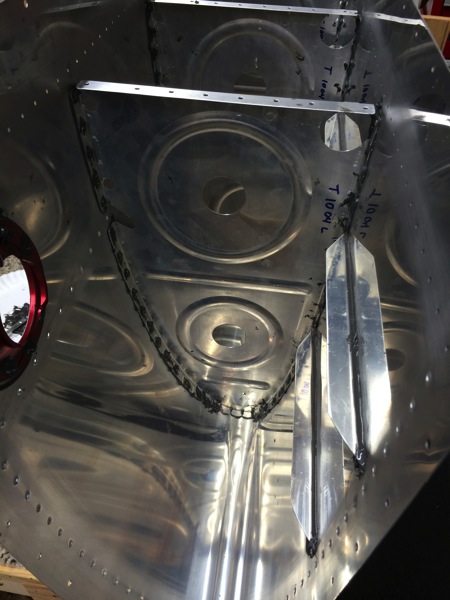
IMG 3100

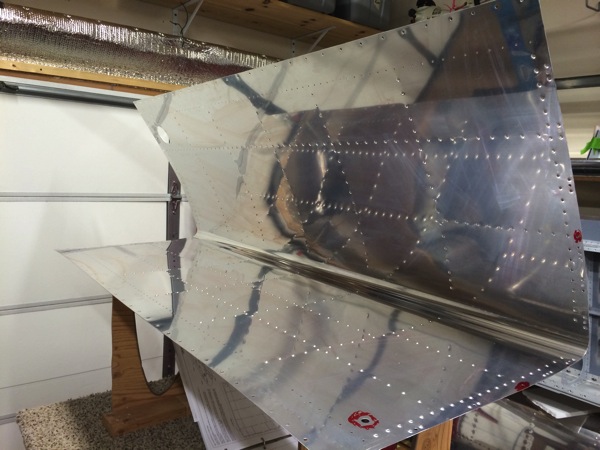
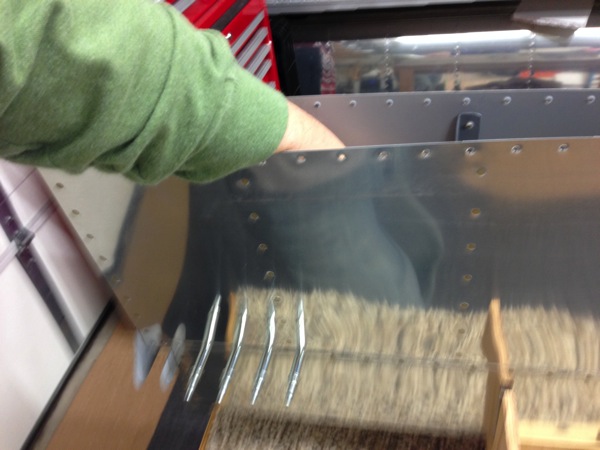
Bottom of the fuel tank. You can see the vertical rows of rivets for the ribs and the horizontal rows for the stiffeners
IMG 3101

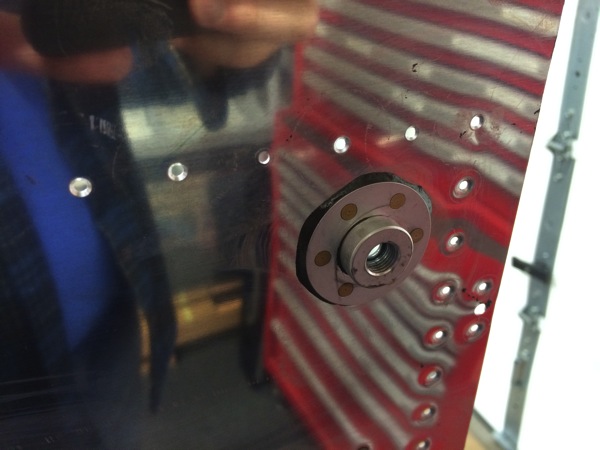
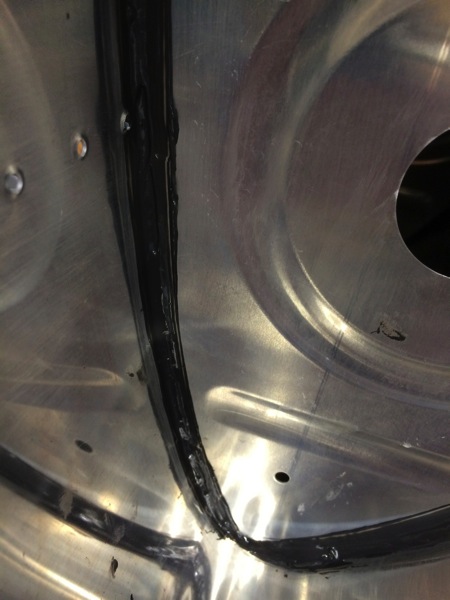
Fuel tank drain flange
IMG 3102

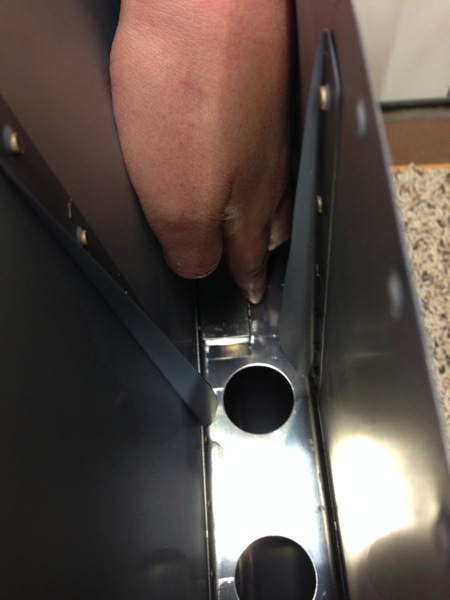
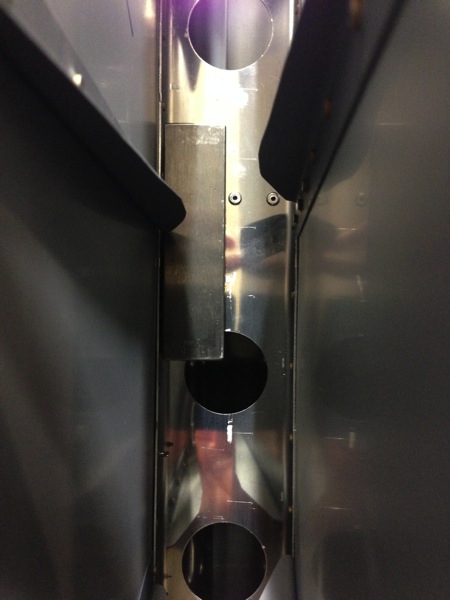
Inside of the fuel tank drain. You get a good look at the sealant applied to the rivet shop head.
IMG 3103

I’m very pleased with the progress we made over the past week. We worked nearly 30 hours (58 man hours) and made significant progress on the fuel tanks. Thanks for the help Dad!

Empennage!!!

I placed the order for the Empennage and paid the balance today. Van’s expects it to ship next week so I’ll probably be seeing it around mid January. Of course, their website says that they have a 10 week lead time…guess not! Suppose that means I need to get busy and make some room in the workshop…

Fuel Tanks 3

We decided to let the left tank ribs set up another day so we worked on the right side today. We got the skin dimpled, J-Stiffener fabricated, tank-baffle holes countersunk, and sealed the fixtures onto the inboard rib (sealed and clecoed, rivet tomorrow). We also got the tank skin stiffeners pro sealed and clecoed onto the skin awaiting rivets tomorrow.

Here’s a few pictures:
IMG 3094

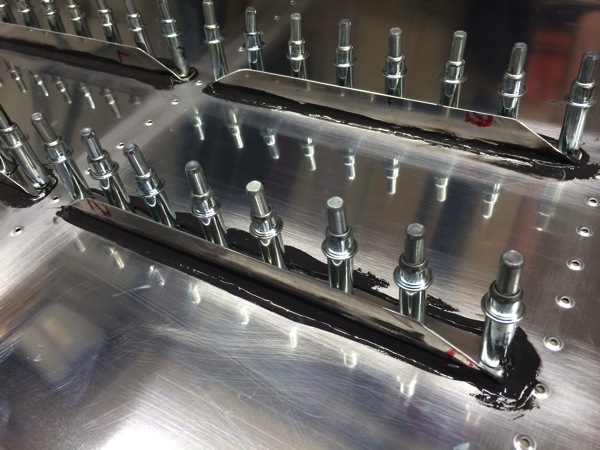
Here’s a little closer look at the stiffener with pro seal squeeze out.
IMG 3096

And here’s a look at the fuel cap flange clecoed to the top surface of the skin.
IMG 3097

Fuel Tanks 1

First of all, Vans changed the numbering of the sections so I’ll just stop using section numbers in the titles to avoid confusion.

We have started on the tanks. I have been putting it off for a while because I was intimidated by the pro-seal. After reading quite a bit online from builders logs and forums on =VAF=, I decided to go with the method described by Rick Galati in this thread.

Speaking of other builders sites, I want to point anyone to Jim Novak’s RV-8 build log. Dad and I visited Jim’s shop yesterday and I spent most of yesterday evening catching up with his build log. I’ve gotten behind on several things since G was born and Jim’s log is one of them but he does a very good and thorough job of documenting his work. I read his section on tanks twice last night and this morning before we started sealing the ribs. Rather than go through the details of the process here, read Rick’s thread above and start here on Jim’s log and read from there.

Freshly dimpled and prepared skin ready for ribs, sealant, and rivets…
IMG 3085

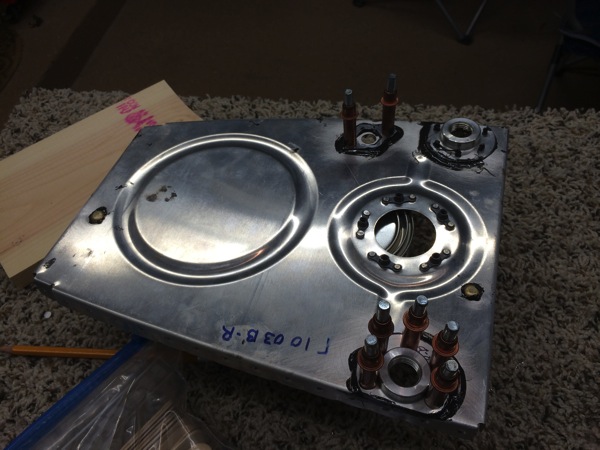
First sealing step is to proseal the fuel line fittings to the inboard rib. We applied a healthy (if not pretty) layer of pro seal to the mating surfaces then clecoed every hole. We’ll leave this set up over night and rivet it the next morning.
IMG 3083

and here is the completely riveted piece.
IMG 3092

Next step is to seal then rivet the tank stiffeners onto the lower portion of the skin. Since I neglected to take any pictures of this you’ll have to use your imagination but we layer a bead of sealant then 100% clecoed the stiffeners. They set up over night and we riveted them this morning.

Next we installed the inboard ribs in the tank skin. We did this by applying pro seal to the raying surface (mating surface) of the rib then 100% clecoed them into place starting at the nose and working our way back.
IMG 3087

After that, we used the pro seal that squeezed out plus some additional pro seal to make a fillet on the non flanged side of the rib. We’ll do more on the flange side after riveting but it seemed like it would just make a mess to do it now. You can see the fillet here.
IMG 3088
and here
IMG 3089

This is what the flange side of the ribs look like. You can see that pro seal has squeezed out from the raying surface but we’ll add another layer after the rivets go in. Better safe than sorry….
IMG 3090

We’re going to work on the right side tomorrow and probably rivet the left side Thursday.

Section 20 – Ailerons

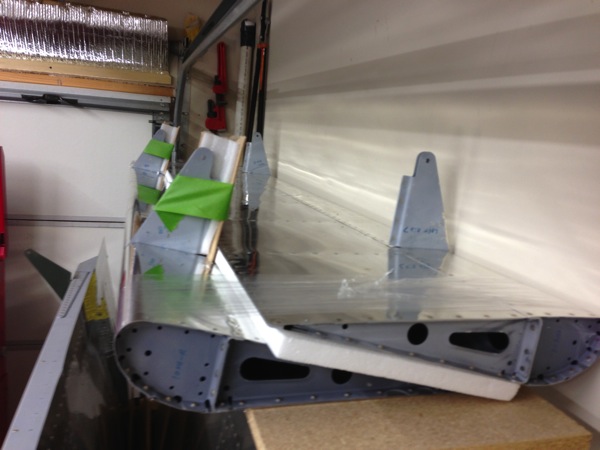
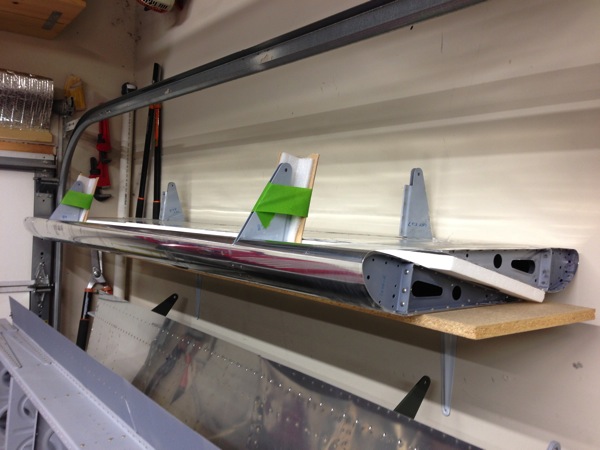
I’ve been working a little bit as I’m able with a now 3 month old but I haven’t been doing a good job of taking pictures or reporting here. I’ve now got the the left and right ailerons completed. I haven’t been doing nearly a good enough job of updating this site so I’ll be throwing out a a few updates here over this week to try and catch up.

The ailerons are very similar to the flaps to construct with the exception of the fact that the ailerons have stiffeners instead of ribs for all support inboard of the two outboard ribs. The ailerons don’t have to support the same loads that the flaps do so they don’t require the ribs.

About the only substantial thing I have to say about constructing the ailerons is that I think I discovered a slightly easier way to rivet the forward edge of the skin to the spar. I have trouble working my hands down into that cavity and holding a bucking bar.
IMG 3008

I discovered that once I got a few rivets set, I could lay the tungsten bar on its side and simply use my finger tips to hold it against the rivet. The bucking bar rests against the shop heads of the completed rivets.
IMG 3007

After completing each rivet you can work your way down to the next.
IMG 2964

So both ailerons are now complete and stored on a shelf. Tanks are next. Dad is in town and we started them this week.

Section 19 – Flaps

Back at it! Haven’t had a lot of time to work on the plane the past several weeks but now that Grayson is 4 weeks old, I’m able to sneak out to the garage for an hour or two here and there. Dad came to town to meet Grayson so we were able to spend a few hours working as well.

I have now completed both left and right flaps. Don’t have a lot of pictures of the right one since it’s basically identical to the left. Once again, the hardest part was driving the rivets on the bottom skin to the spar.
IMG 2864
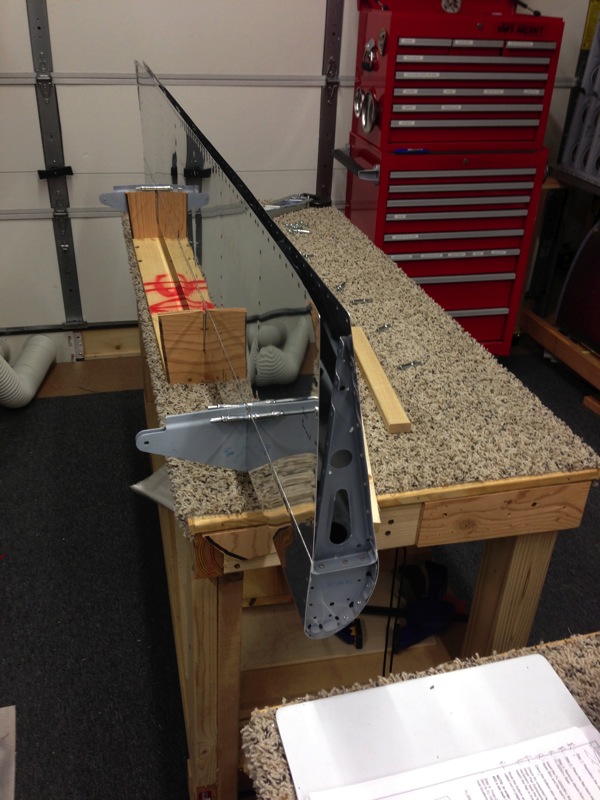
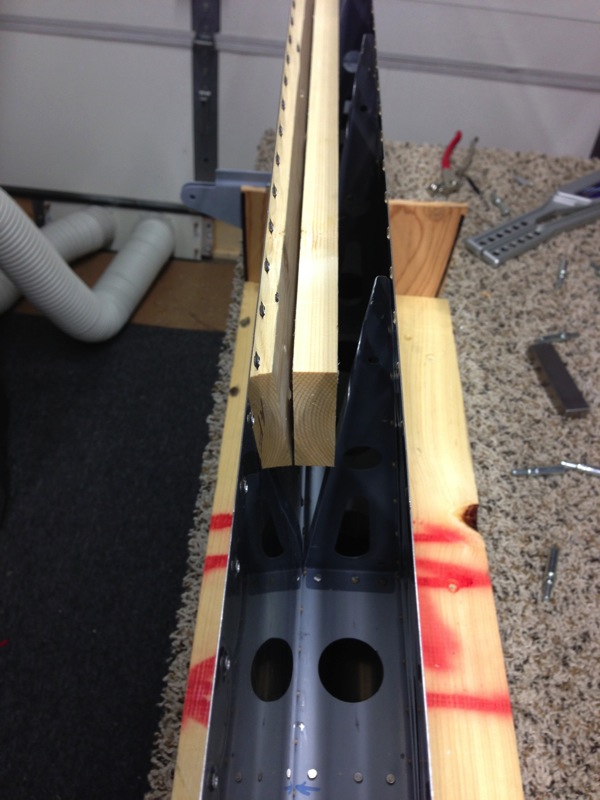
It requires you to reach way down into the flap between the two skins to hold the bucking bar. Tungsten is a must. I used a couple of 1 inch thick pieces of wood to hold the skins apart a little. I worked one bay at a time with pieces of wood on each side.
IMG 2867

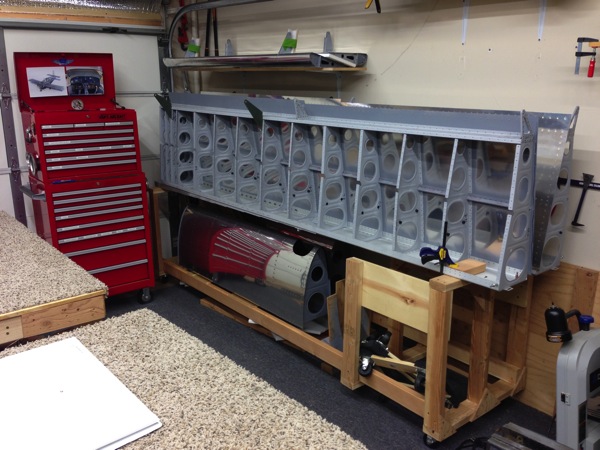
So here’s a picture of all of the progress to date. Wings with top skins on, outboard leading edges below, and flaps on the shelf on top.
IMG 2881

Here’s the stored flaps. I put styrofoam between them and wrapped them with saran wrap before putting them on a shelf.
IMG 2876
IMG 2874